You go here and download MilkShape 3D 1.8.5: direct link MediaFire
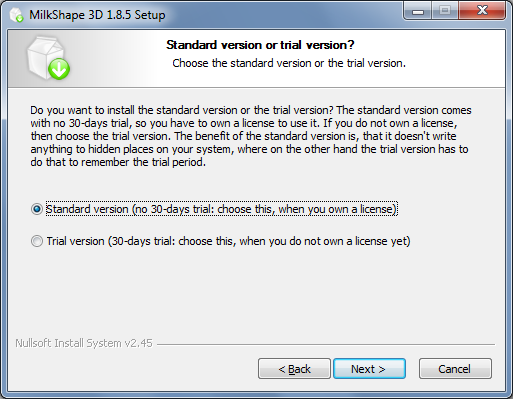
During installation better if you select "Standard Version"
After installation finished open Ms3D, go to Help->About & click "Register". Enter the data from "key.txt" file that is in ms3d archive
Now restart Ms3D
Your window title must be now like this:

Model decompiling
It is highly recommended you will use "Kratisto's HL MDL Decompiler" because default Valve's decompiler
works buggy, it can re-scale textures or even change model origin offset. Kratisto's decompiler is fixed one.
So you go to Tools->Kratisto's Half-Life MDL Decompiler v1.2, in appeared window select the *.mdl file you want to decompile.
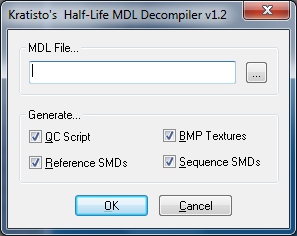
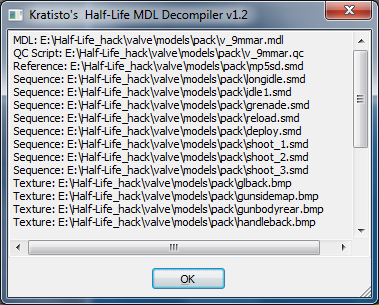
Then click "OK" button. At the end of decompilation you can close log window.
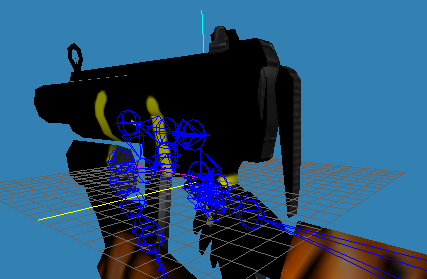
Typical default weapon model after decompilation looks like that:
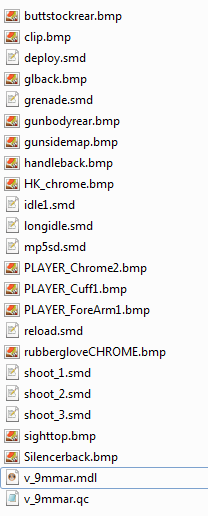
this is Mp5 default model, now about filetypes:
smd - Animations/reference, contains raw axis coords/bone/keyframes data
bmp - Textures in Bitmap format with 256-colors palette
qc - Compilation script-file
Now let's try to open a reference file. You can get the reference smd name from QC script:
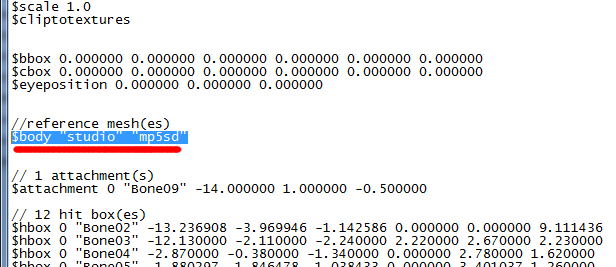
So go to ms3d: File->Import->Half-Life SMD... and pick your reference file, mp5 has "mp5sd.smd"
after file selection you will see this window:
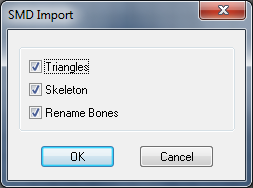
remove check from "Rename Bones" 'cuz sometimes this can mess up your model.
Now you have the reference opened in Ms3d for further work.
Here is a little scheme for projections by default:
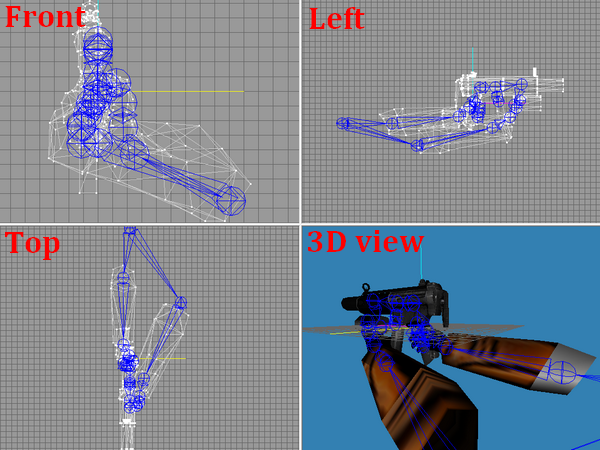
To change projection of any window click right mouse button->Projection and select projection you want

Mouse wheel zooms in/out in the active projection window
Tools description
Now let's think out about tools.
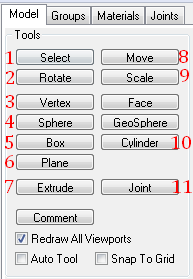
1 - Selection tool
This tool works only in 2D-projection windows
Selection tool options:
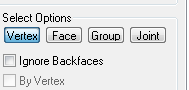
Ignore Backfaces = don't select the back faces of group
2 - Rotate tool
Rotates selected mesh/vertex(es)/group
This tool works only in 2D-projection windows
Selection tool options:
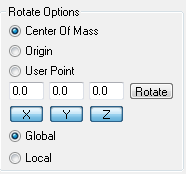
User Point = rotate by custom specified coords (X, Y, Z)
3 - Vertex tool
Creates simple single vertex, almost useless for newbies, but this can be used to create custom shapes with Face tool
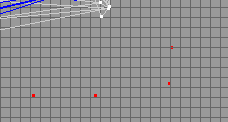

This tool works only in 2D-projection windows
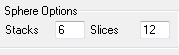
4 - Sphere tool
Creates a simple sphere with specified stacks/slices, center of sphere = your cursor position
This tool works only in 2D-projection windows
Sphere tool options:
5 - Box tool
Creates an arbitrary cube/box
This tool works only in 2D-projection windows
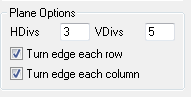
6 - Plane tool
Rarely used tool honestly, creates an one-sided plane
This tool works only in 2D-projection windows
Plane tool options:
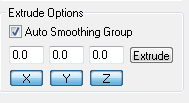
7 - Extrude tool
To use this tool firstly select a face with Select->Face tool, then go to Extrude and just drag these faces, it will be cloned
This tool works only in 2D-projection windows
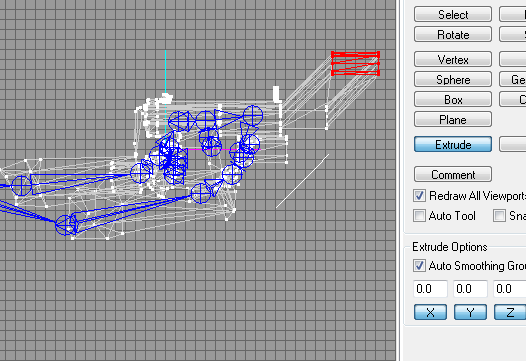
Extrude tool options:
8 - Move tool
Moves selected vertex(es)/group/joint
This tool works only in 2D-projection windows
Move tool options:
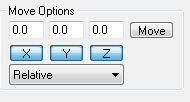
Can move by custom specified coords & ignore spcified axises (X, Y, Z)
9 - Scale tool
Scales selected vertex(es)/group
This tool works only in 2D-projection windows
Scale tool options:
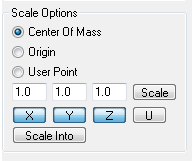
Can scale by custom specified coords & ignore spcified axises (X, Y, Z)
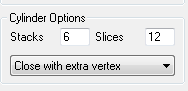
10 - Cylinder tool
Creates a cylinder with specified stacks/slices
This tool works only in 2D-projection windows
Cylinder tool options:
11 - Joint tool
Creates a new joint
This tool works only in 2D-projection windows
Attaching model parts to the joint
Select the part you want to attach, go to Joints & select joint you need, then click "Assign"
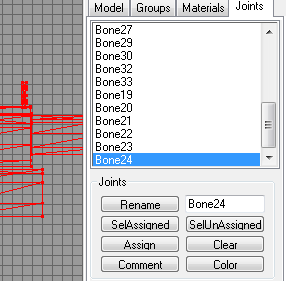
If everything went successful you will get no any messages.
Assigning textures
Go to Materials & click "New" button.
Then select your newly created material (usually "Material01") & click on the top "<none>" button.
Select there your texture file.

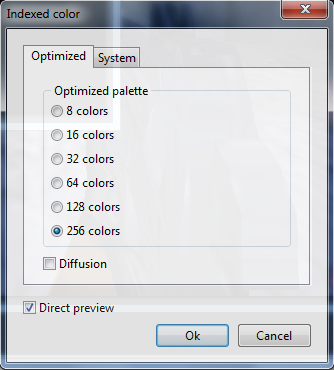
Your texture must be in Bitmap format with 256-colors palette & max. 512x512 resolution!!!
Now select the model part you want to attach texture & click "Assign"
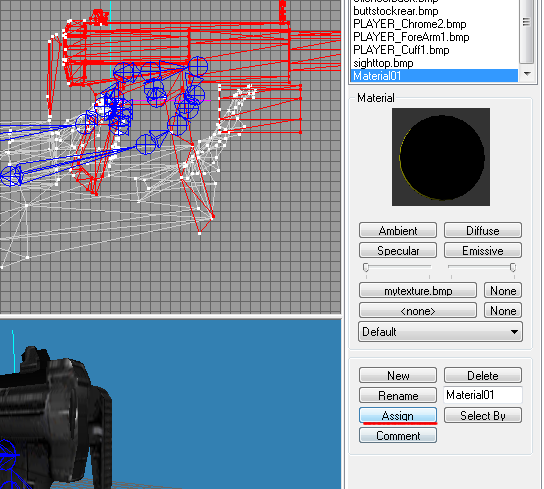
After all you will get something like this:
-------------------------------------------------------------------------------
See the "Texture Coordinate Editor" tutorial to move your texture
Exporting SMD, compiling model
After I had done changes let me export this SMD file to compile model and see how does it look in game.
I just scaled MP5 so it is just a very BIG MP5.
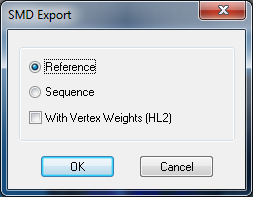
Go to File->Export->Half-Life SMD... & replace existing mp5sd.smd.
Select here "Reference" & click OK
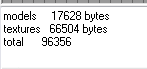
Now time to compile this thingy. Go to Tools->Half-Life->Compile QC File... & select QC script file.
If you done everything right you will see model stats in the left bottom corner. Either you will see an error message there.
Now let's see how does it look in the game:
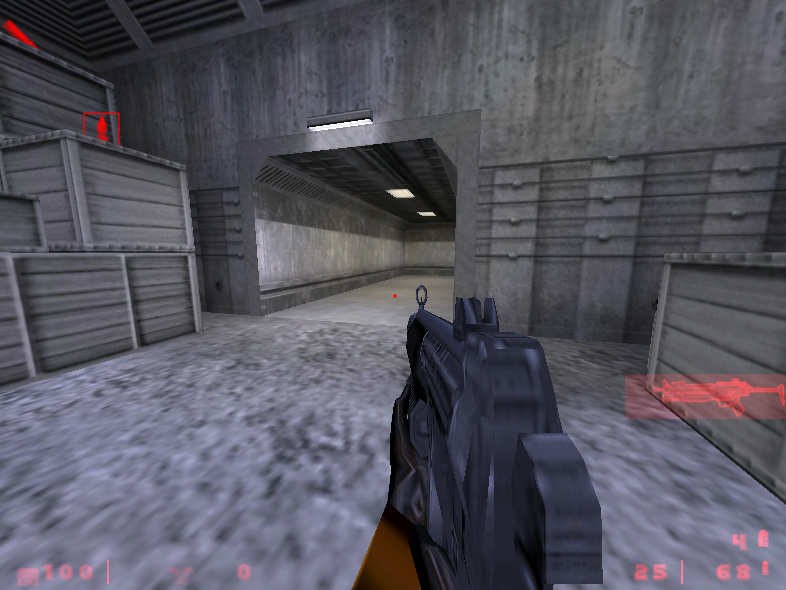
It looks... Interesting.
